How to Use PSD Mockups to Present Your Logo Designs Like a Pro
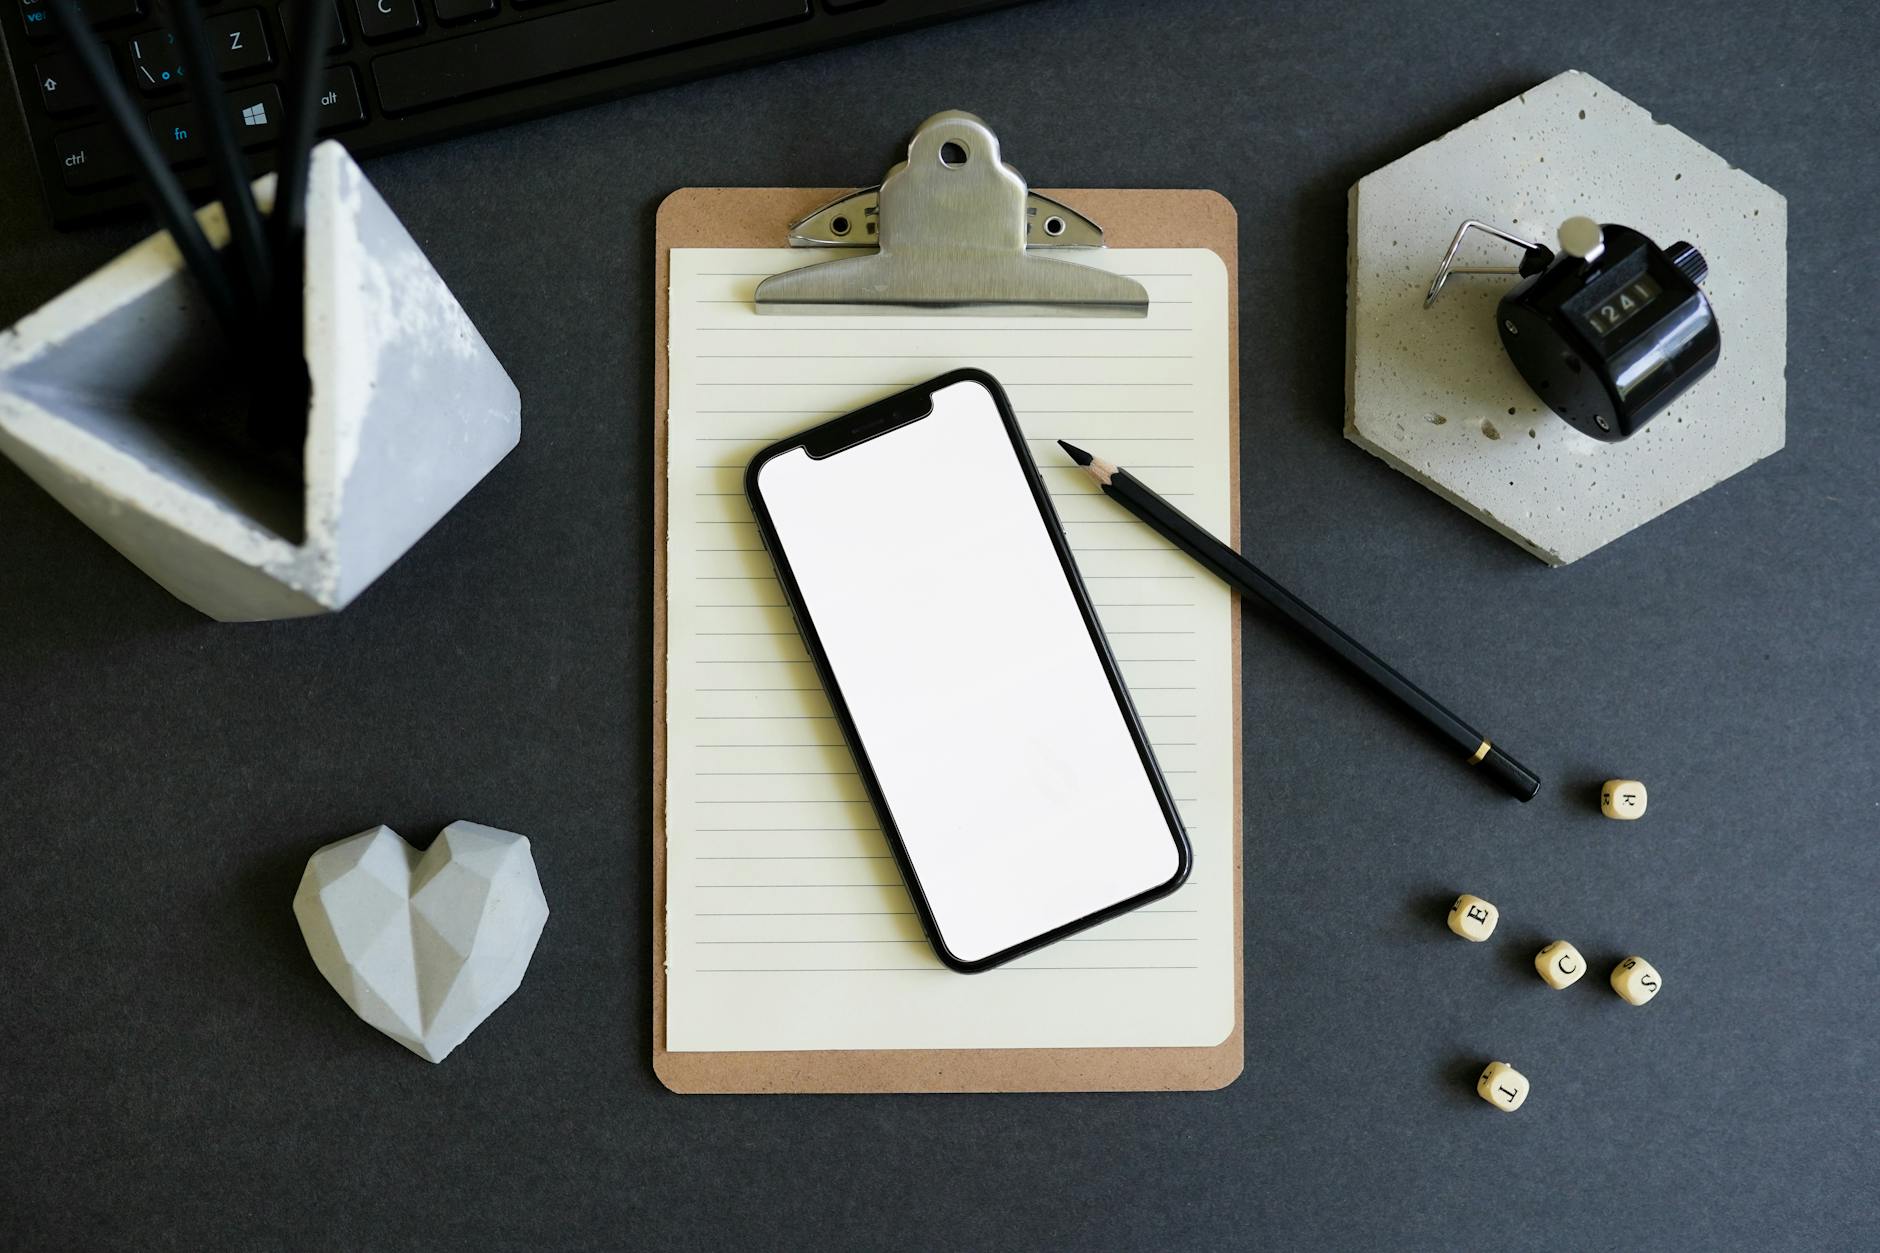
Have you ever finished a logo design that looks stunning on a plain white canvas, but feels a bit “lifeless” when sent to a client? The problem usually isn’t the logo itself—it’s the presentation.
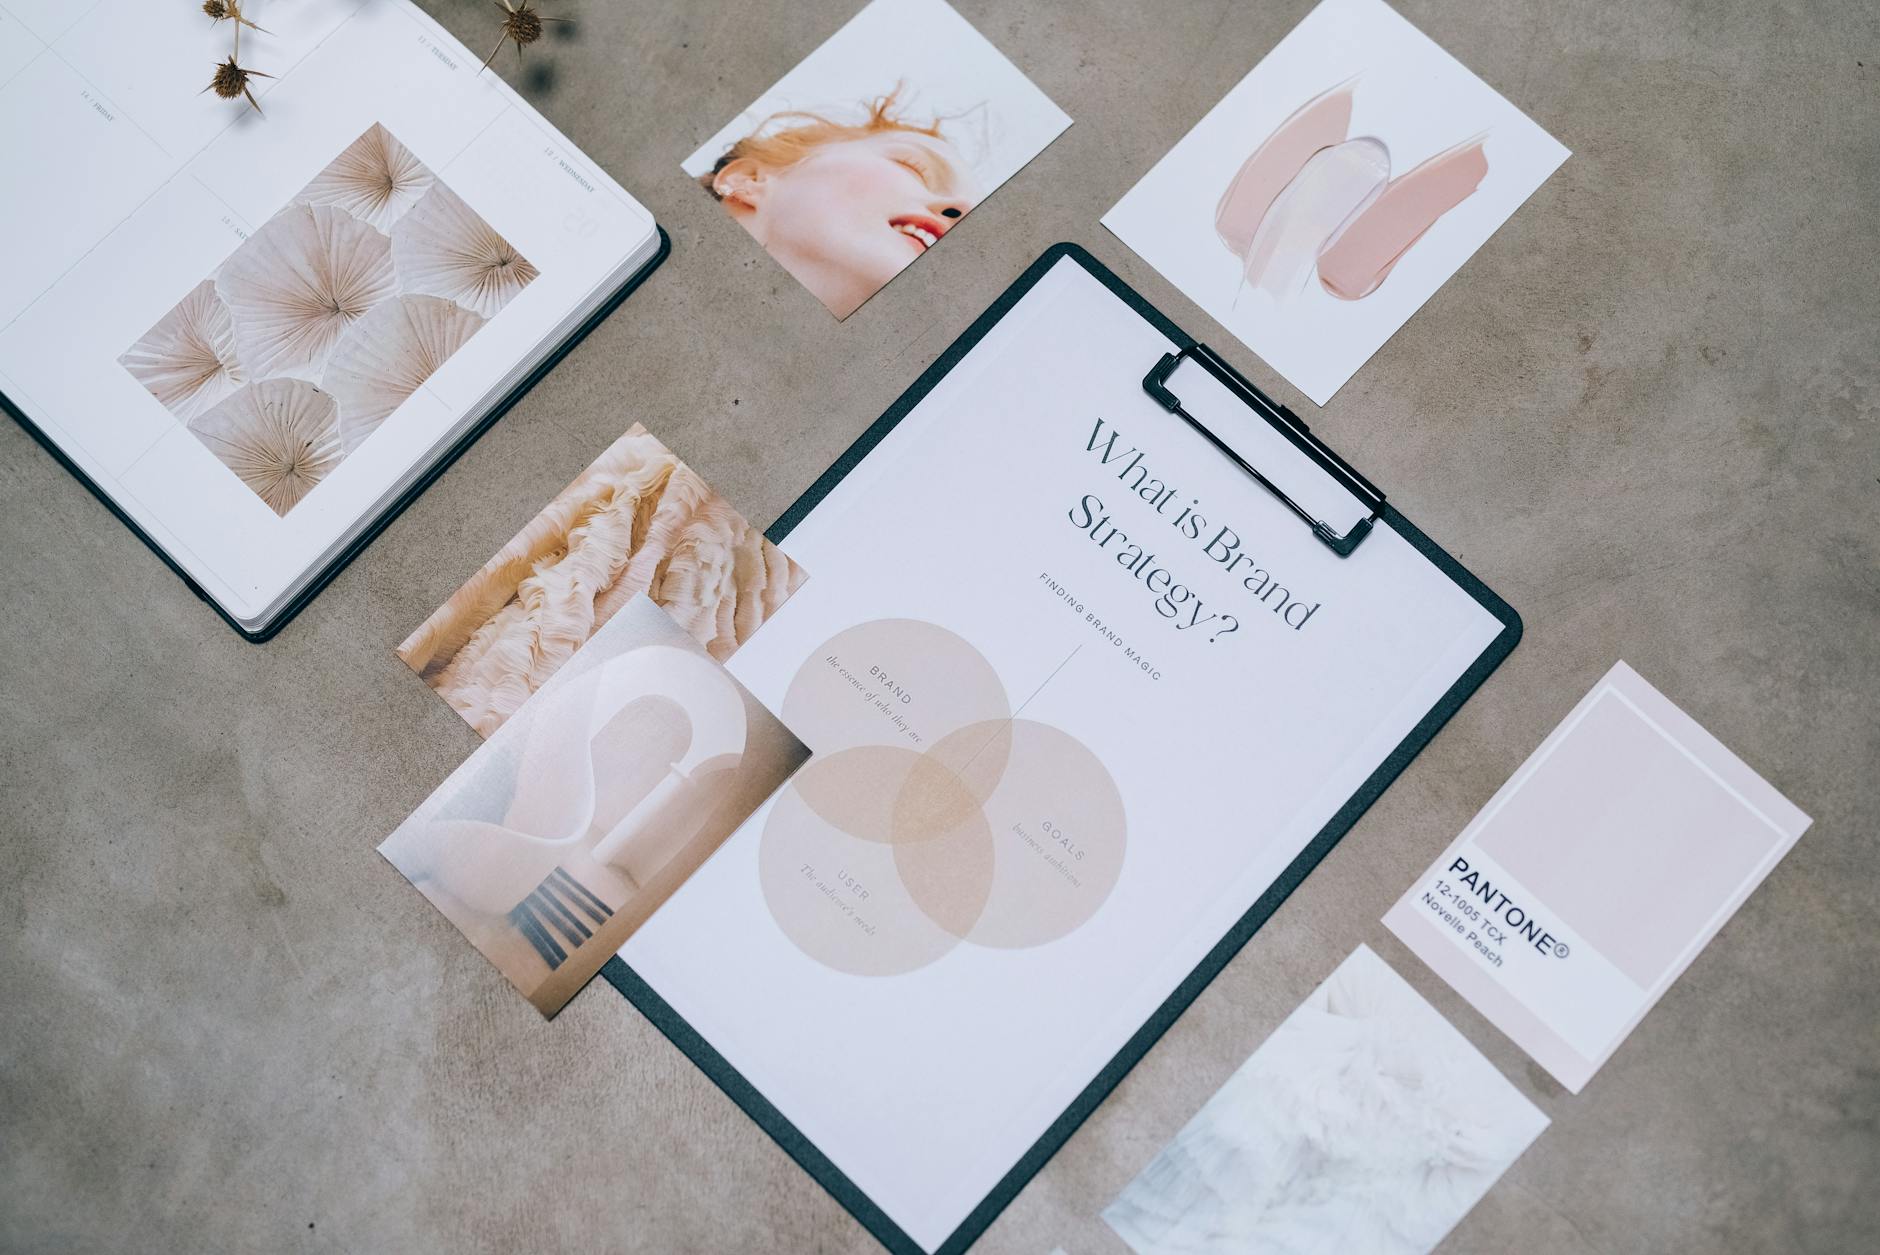
In the professional design world, clients aren’t just buying a graphic; they are buying a vision. This is where PSD Mockups become your most powerful tool. With the right mockup, you can show exactly how that logo will look in the real world—whether it’s on a streetwear cap, a minimalist business card, or a city billboard.
In this guide, we’ll walk through how to use PSD mockups in Adobe Photoshop to elevate your design presentations to a global standard.
Why Presentation Matters for Global Clients
Before we dive into the technical steps, let’s understand why professional mockups are essential for high-ticket clients:
- Contextual Branding: It helps clients visualize the final product, reducing the “imagination gap.”
- Perceived Value: Professional presentations allow you to command higher rates for your design services.
- Faster Approvals: When a client sees how a logo interacts with physical textures and lighting, they feel more confident in the result, leading to fewer revision rounds.
Step-by-Step: How to Use a PSD Mockup
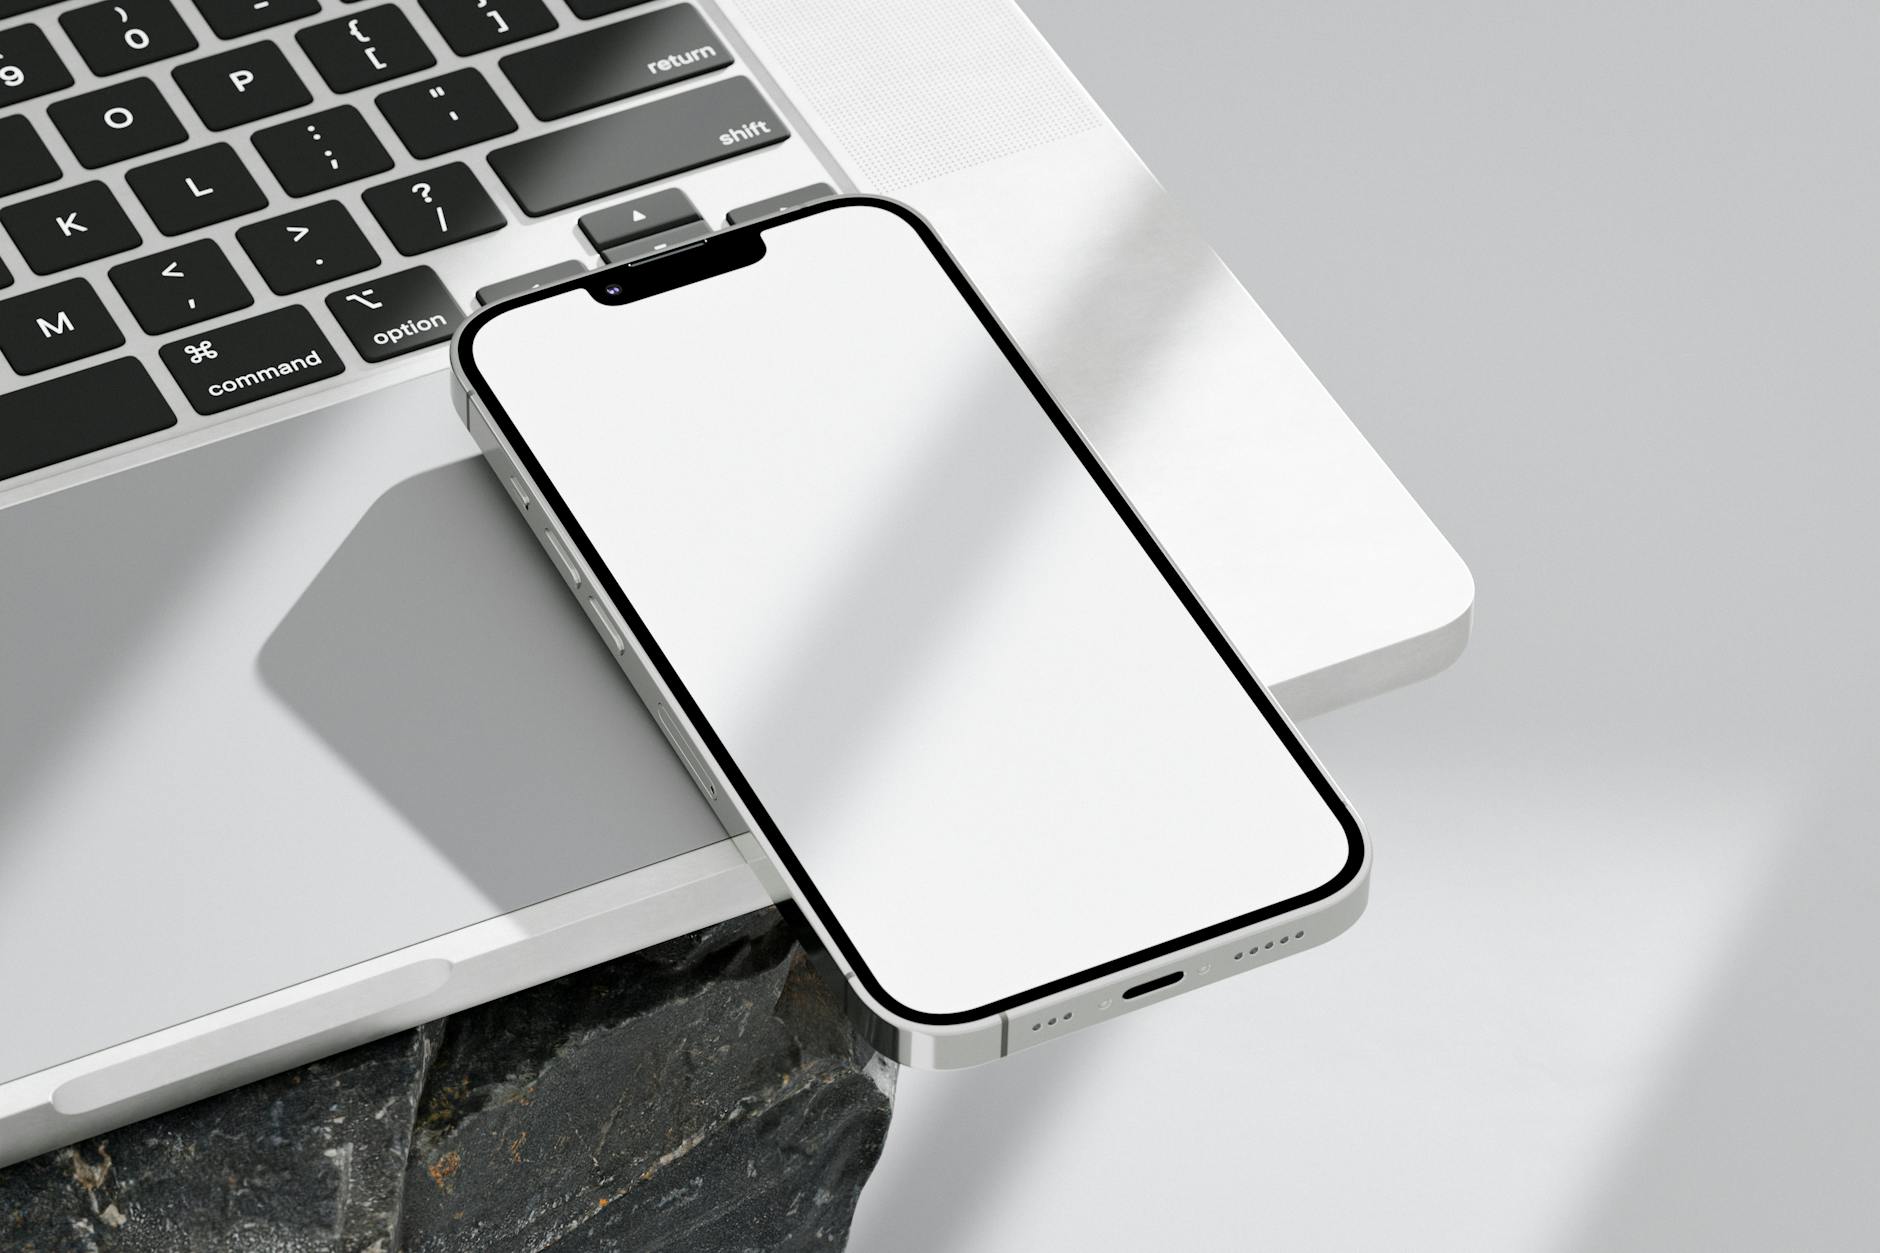
1. Choose a High-Quality Mockup
The quality of your presentation depends on the quality of your file. Ensure you are using a PSD file that features Smart Objects. Premium mockups usually offer high resolution (300 DPI) and organized layers to keep your workflow efficient.
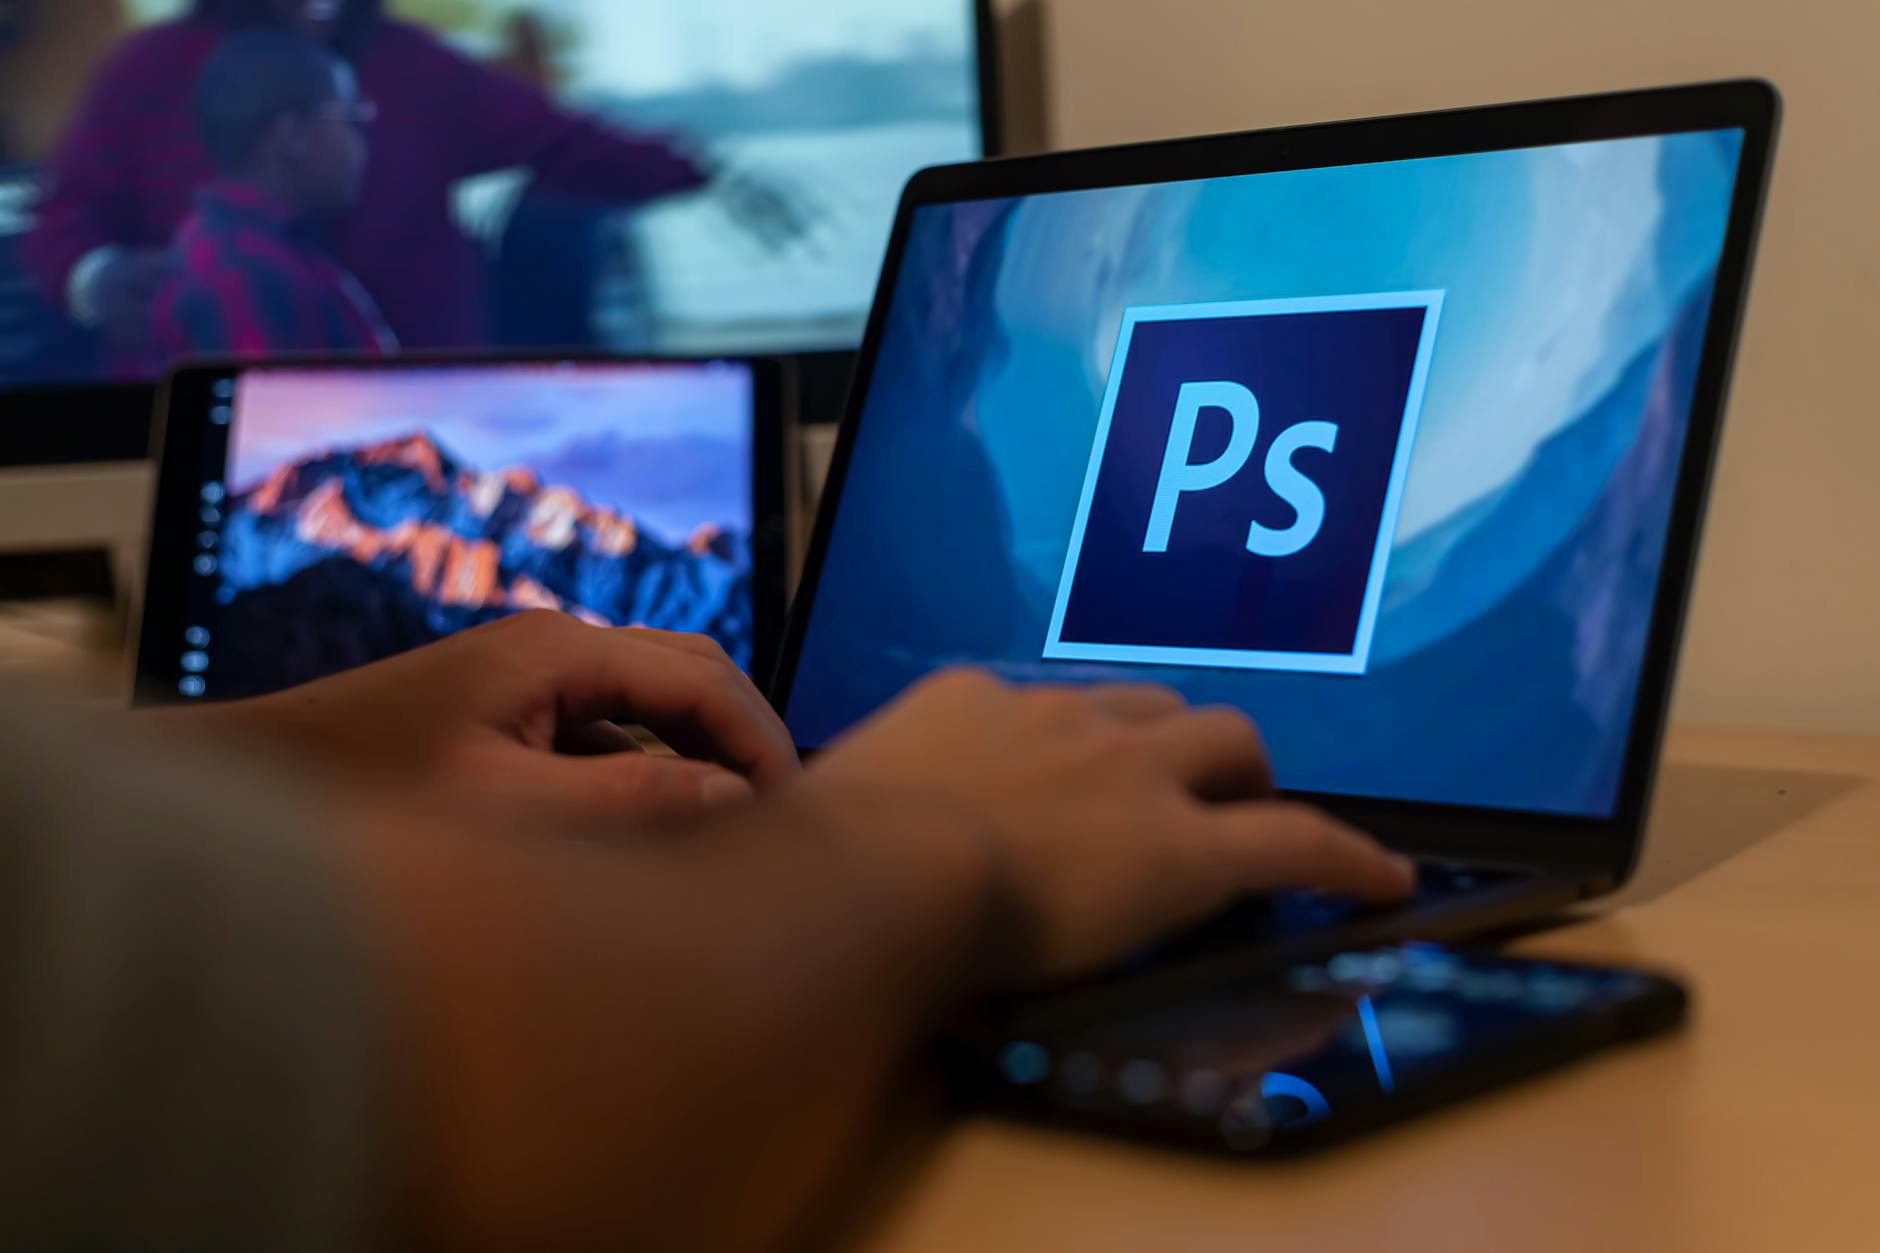
2. Locate the “Smart Object” Layer
Once you open the file in Photoshop, look at the Layers panel. Look for a layer often named “Place Your Design Here”, “Your Logo”, or a thumbnail with a small “page” icon in the corner. This is your Smart Object.
3. Insert Your Design
- Double-click the thumbnail of the Smart Object layer.
- A new tab (
.psbfile) will open. This is your dedicated workspace inside the mockup. - Drag and drop your logo file (preferably a
.svgor transparent.png) into this tab. - Hide or delete the default placeholder design.
4. Scale and Position
Press Ctrl + T (Windows) or Cmd + T (Mac) to transform and scale your logo. Center it within the workspace or position it where you want it to appear on the object. Hit Enter to confirm.
5. Save to Apply
This is the most important step. Press Ctrl + S or Cmd + S to save the Smart Object tab. Now, navigate back to your main mockup tab. Your logo will automatically wrap to the textures, lighting, and perspective of the mockup object!
Pro Tips for Realistic Results
- Adjust Opacity: If the logo looks too “flat” or “pasted on,” try lowering the layer opacity slightly (around 90-95%). This allows the underlying material texture (like fabric or paper) to subtly show through.
- Match the Lighting: If the mockup has a warm tone, consider adding a slight color overlay to your logo so it blends naturally with the environment.
- Use Multiple Angles: Don’t rely on just one image. Use a mockup bundle that offers different angles—front, side, and close-ups—to give your client a 360-degree feel of the brand.
Ready to Level Up Your Portfolio?
The best way to master this is to try it yourself. We’ve curated a selection of High-Quality Mockups that you can use to give your portfolio a professional edge.
Looking for a more extensive collection? Explore thousands of premium design assets—from flat illustrations and vector bundles to professional mockup kits designed to speed up your workflow—at Dendysign Studio.